Step-by-Step Guide to Hanging a Picture
1. Measure the width of the picture and mark the center point on the top edge with a pencil.
2. Cut a piece of painter’s tape the same length as the picture’s width.
3. Place the tape on the wall where you want the picture to hang, using a level to ensure it’s straight.
4. Mark the center of the tape on the wall.
5. Measure the distance from the top of the picture to the hanging hardware on the back.
6. Transfer this measurement to the wall, marking the spot on the tape.
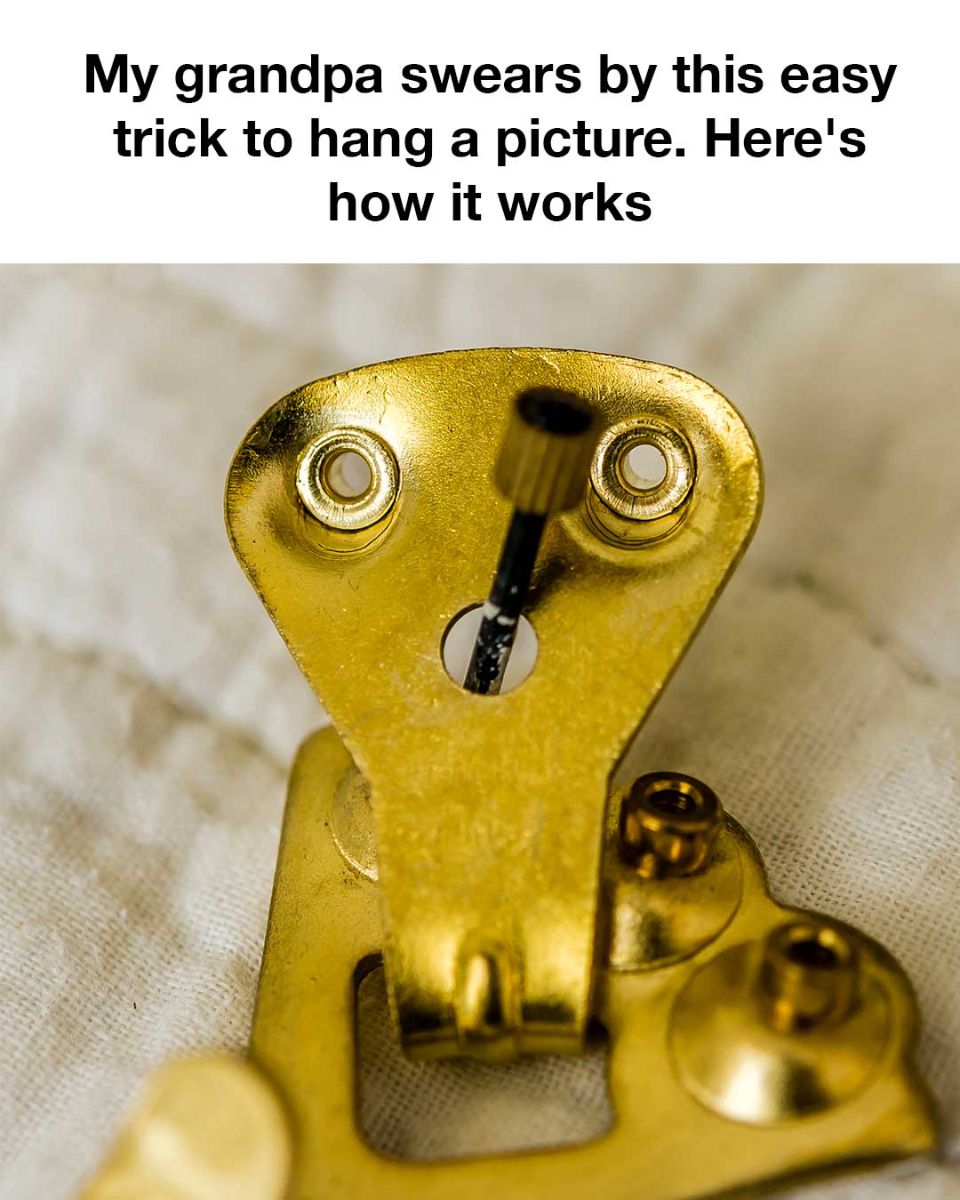
7. Hammer a nail or install a picture hook at the marked spot.
8. Remove the tape and hang your picture, ensuring it’s level.
Common Mistakes and How to Avoid Them
One common mistake is not using a level, which can result in a crooked picture. Always double-check your measurements and use a level to ensure accuracy. Another mistake is using the wrong type of nail or hook for the weight of the picture. Be sure to choose the appropriate hardware to avoid accidents.
The Science Behind the Trick: Why It Works
This trick works because it combines precise measurements with visual aids, like the painter’s tape, to ensure accuracy. By marking the exact spots on the wall, you eliminate guesswork and reduce the risk of errors. The use of a level ensures that the picture hangs straight, while the tape provides a temporary guide that can be easily adjusted.
Benefits of Using This Picture Hanging Method
ADVERTISEMENT

